Give your screenshots room to breathe
Add backgrounds, padding, rounded corners, shadows and annotations to screenshots locally in ScreenHello. Keep edits reversible and export the complete canvas.
1. Bring in an image
Choose a local file, drop it into the welcome area, or paste an image. Screen capture asks for browser permission. The example button loads a portrait sample on narrow screens and a landscape sample on tablet or desktop-sized windows.
Work with up to 12 images
A project holds at most 12 images. Each one keeps its own position, size and appearance settings, and you switch between them from the layer list.
Keyboard shortcuts
Drive the editor without leaving the keyboard. On macOS use Command wherever the table says Ctrl.
| Action | Keys |
|---|---|
| Open project | Ctrl + O |
| Save project | Ctrl + S |
| Save project as | Ctrl + Shift + S |
| Open export | Ctrl + Shift + E |
| Copy final image | Ctrl + C |
| Undo | Ctrl + Z |
| Redo | Ctrl + Shift + Z |
| Delete selection | Delete or Backspace |
| Zoom in | Ctrl + + |
| Zoom out | Ctrl + - |
| Fit canvas | Ctrl + 0 |
Shortcuts are ignored while you are typing in a text field, so they never interrupt a label you are editing.
2. Build a consistent style
Set the canvas size, padding, corner radius, shadow and inner border. Choose a solid colour, gradient, bundled image background or your own local background. Use arrows, step numbers and magnifiers to explain what matters. Save reusable styles as local presets.
3. Export the whole composition
Choose PNG for a transparent canvas, or JPG, WebP and AVIF for the other supported workflows. JPEG and WebP exports use a white background for transparency. Zoom changes only the editing view; export scale changes the final pixel dimensions. Review the export settings before downloading.
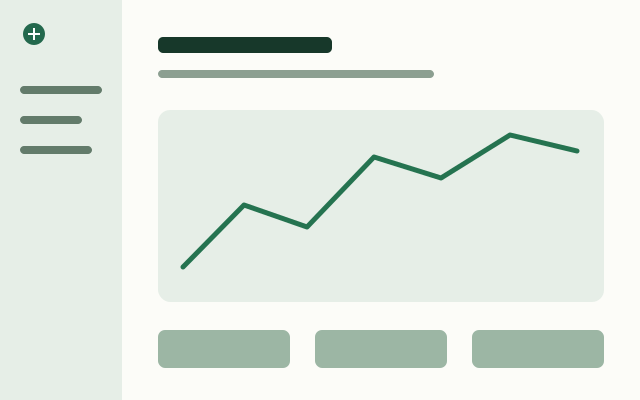 Original
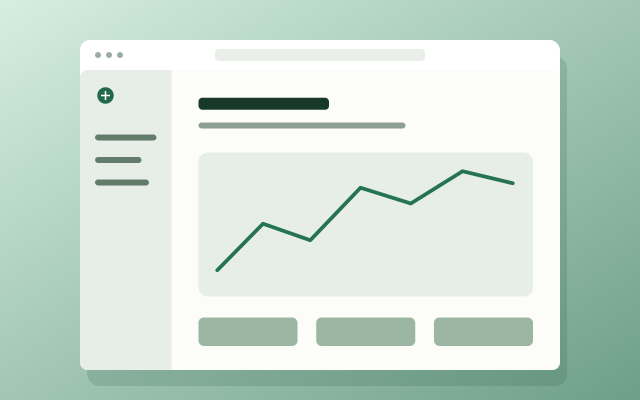 With a browser frame
Keep exploring
Browser and device frames for screenshots · PNG, JPG and WebP compression and export guide
Content reviewed